But alas, it would take 2-5 days to ship them from one state over, the shipping being more than the cost of the covers. Can't have that, really. Must.make.clothing.for.textbook. So in an even more eco-friendly way, I asked the previously-mentioned new fifth grader to give me a T-shirt from his outgrown stash to create one. Voila, I give you a T-shirt to Book Sox tutorial.

This is a S Youth sized shirt, and the book that it needed to cover (the book is 8 1/2 by 11, so this would be the equivalent of a jumbo Book sox). I figured that the maximum stretch of the fabric should be running across for a taut cover, but I don't think it really matters -- especially if you have a design on the shirt you want to lay vertically versus horizontally across the front. As you can see, it's not quite enough to wrap around to the inside because the rounded cutout for the neck makes it not a rectangle. We can fix that!

So the first thing I did was rip out the side and armhole seams, and all the hems, have a single layer to work with. That leaves a nicely rounded piece from the sleeve to patch the neckline with, and the stretch even runs the same way. So pin and stitch that in place.

See how you now have enough to wrap to the inside.

We'll stretch and pin each corner -- working with the wrong side facing out so that it is ready to sew. Don't worry about bunching up on the spine for now, just pull until the outside is nice and taut. Pin each corner. If your shirt is big enough, it will come all the way to the spine. Pin in a diagonal to end at the corner.

Close the book to check the fit once all the corners are pinned. Note that the spine still has the extra fabric at top and bottom.

Take the fabric off the book, making sure the pins stay put and aligned pointing to the corner.
Sew each corner -- the line marked to the left of the pin. I used a serger to sew and trim at the same time, but use whatever stitch you use for knits or stretchy fabric. Trim the seams if you haven't yet.

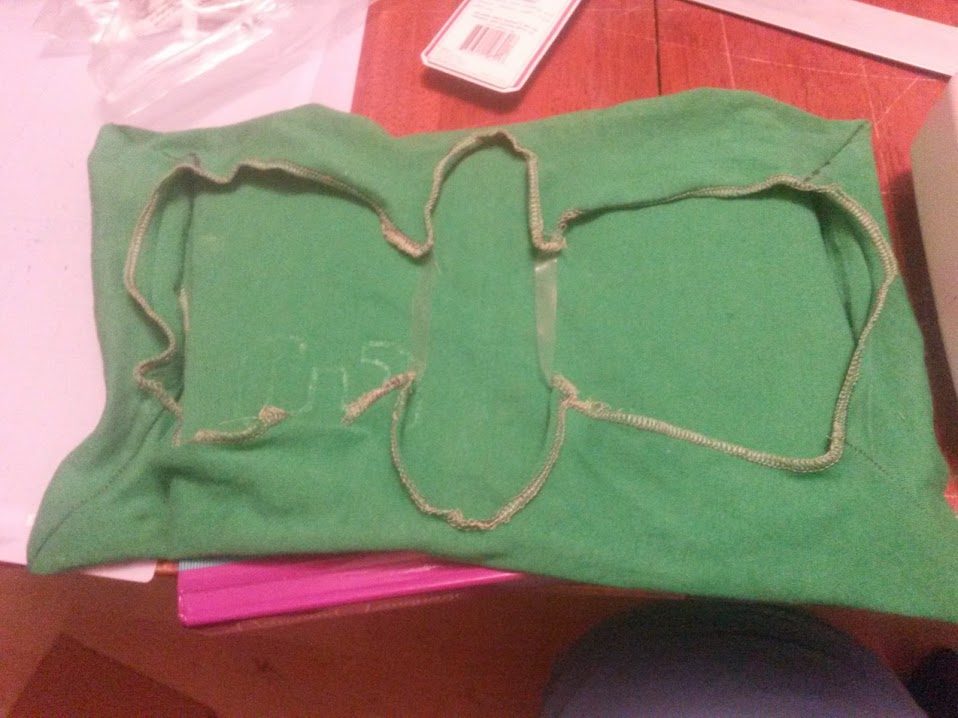
This is what the cover will look like once the corner seams are sewn and trimmed (still inside out.)

Measure from edge to edge, and mark the middle of the top and bottom.

Make slits at the marks for the fabric to wrap up from the bottom and down from the top, to take care of that extra fabric at the spine. After doing that, I serged all the edges to neaten and reinforce them.
Sorry this pic is so blurry, but you can see the inside corners are not quite stretching enough, because the fabric didn't go all the way to the spine on the inside.

To take care of that, I sewed elastic between those two corners to pull them together. (and the same for the back too.) I used clear 3/8" elastic because it's very flat, but it doesn't really matter what you use. If the T-shirt you use is big enough to wrap completely over the inside, you won't even have to use the elastic.

This is what the book shirt looks like finished (right side out this time.)
And this is what it looks like on the book.


hurray for upcycling! And of course for a one-of-a-kind, easily recognizable book protector. Actually there is still the back of the T-shirt for a whole other bookshirt -- bonus if you use a shirt with designs on both back and front!
Best of all is Popoy's comment: "It will be nice to have something that my mommy made in my school locker." I am such a sucker for appreciation.
No comments:
Post a Comment