Sunday, November 3, 2013

Halloween Costume post 1! Other people's costumes...

So I'm a baker, right? As well as teaching, I work at a bakeshop. But there, I'm known as a sewist, because duh, everyone bakes. Thus, costume-making for a co-worker was bound to come up. 
It seems like yesterday we casually talked about my friend Vicki being the Red Queen from Alice in Wonderland and a friend being the Cheshire cat. Her brother's fiance throws a costume birthday party every year, so they do it up. (I love it when people go hard on costumes, she made the crown, bunny-ears and tophat accessories herself...!)We hashed it through on a night out with her friends, and it ended with me doing a tunic for White Rabbit, and a bowtie for the Mad Hatter as well.
I had so much fun and I'm really proud of how they turned out! 


I made a sketch of the costume inspired by the one in the Tim Burton movie: 

and drafted it according to a peplum top she lent me; I find that this is a great way to shortcut a ton of fittings or pattern drafts, especially because she wanted a jacket-like top to wear over a tank and leggings. 
The way I broke it down, there were several fabrics: a black costume satin for the main (back bodice, sleeves and top and sides of the bodice) and white broadcloth (collar) from Joann.com, broadcloth in red (skirt and arm bands) from a brick-and-mortar Joann left over from those red hoods, black (lining the bodice) from Westchester Fabrics, and a gold tissue lame (center bodice and skirt) from Hartsdale Fabrics

Basically you take a princess-seam pattern and piece it out, with the various colors and fabrics corresponding to the drafted parts... the seam becomes the guideline for the gold triangular bodice pieces, and an additional seam goes across the top to make the black upper bodice separate from the gold. I continued the princess seams down to a point instead of ending them at the waist. To line the front (since the lame is pretty sheer), one whole pattern piece equivalent to the two black satin and one gold piece from black broadcloth. 

The skirt pieces are rectangles, in two layers -- gold on top, and slightly longer red that lays a little flatter. Lastly, ruffle-edged ribbon for the vertical stripes down the center bodice, and gift ribbon for the stripes on the puff sleeves (since she assured me she wouldn't be putting it through the washer's hot cycle anytime!). Wouldn't you know it, after the fact I found some beaded trim at the home-dec section of Hartsdale Fabrics that would have been perfect for the top of the gold bodice. Ah, well...

Closures are heart-shaped red snaps -- I know right, perfect! 

Tuesday, October 8, 2013

Backpack 2.0

So functional fail on the first backpack, since it's too small for the folder that each student has to bring back and forth each day from home to school. So, start over, with a few adjustments. Upholstery fabric outer and poly-cotton lining from Joann, orange Vislon and special-order two-tab zippers, goldtone buckles and polka-dotted super-tough strapping from Pacific Trimming, and snaps from KAMsnaps.com; pink corduroy from another Garment District store I don't recall.
front, with a large zippered pocket.


Back, with ergonomic curved padded straps.

buckle-adjustable strap and snap feet.

fuchsia lining 

grrr-tough strapping, with buckle adjustment.

hanging loop, and custom two-tab zipper.
She really likes it, and I'm pretty sure nobody else will mistake it for theirs. The previous one has found new life as her ballet bag.

Thursday, September 5, 2013

Snaps love!

I am currently in love with snaps and front closures, and thus snap fronts. In a few weeks, I've made: 
PJ's for P
Two uniform shirts for K

and a chef coat (with cupcake-engraved snaps!) for myself.
I mean, I have these: 

How could I not?

The pj shirt is pretty basic, I used Rae's placket tutorial (only 1 1/2" wide) with a few significant changes since I didn't want a collar... neatened up on the inside by sandwiching the neckline facing in between the layers of the placket, which I did from the wrong side instead of the right side. It's made of yarn-dyed shirting in an unusual green-purple.
The uniform shirts are from my usual Burda, with a Peter Pan collar, in cotton with blind hems. One has sz 16 white snaps and the other has hearts.
I'm proudest of my redraft of the chef coat -- collarless v-neck, short sleeves, slight side shaping. Made from poly-cotton broadcloth... have three more on the slate: in sea blue, chambray-look (with silver snaps?), and pale lilac.
 

Thursday, August 29, 2013

Uniform hacking, last one I promise! Also accessories.

So as much as K is attached to the jumpers, I feel that the polos P outgrew need some love. Plus, nice option for warmer weather. More twill, this time into two A-line skirts based on the O+S Sailboat pattern but no buttons on the front, and kicky knit shorts underneath.


adjustable elastic waistbands, but with snaps! 


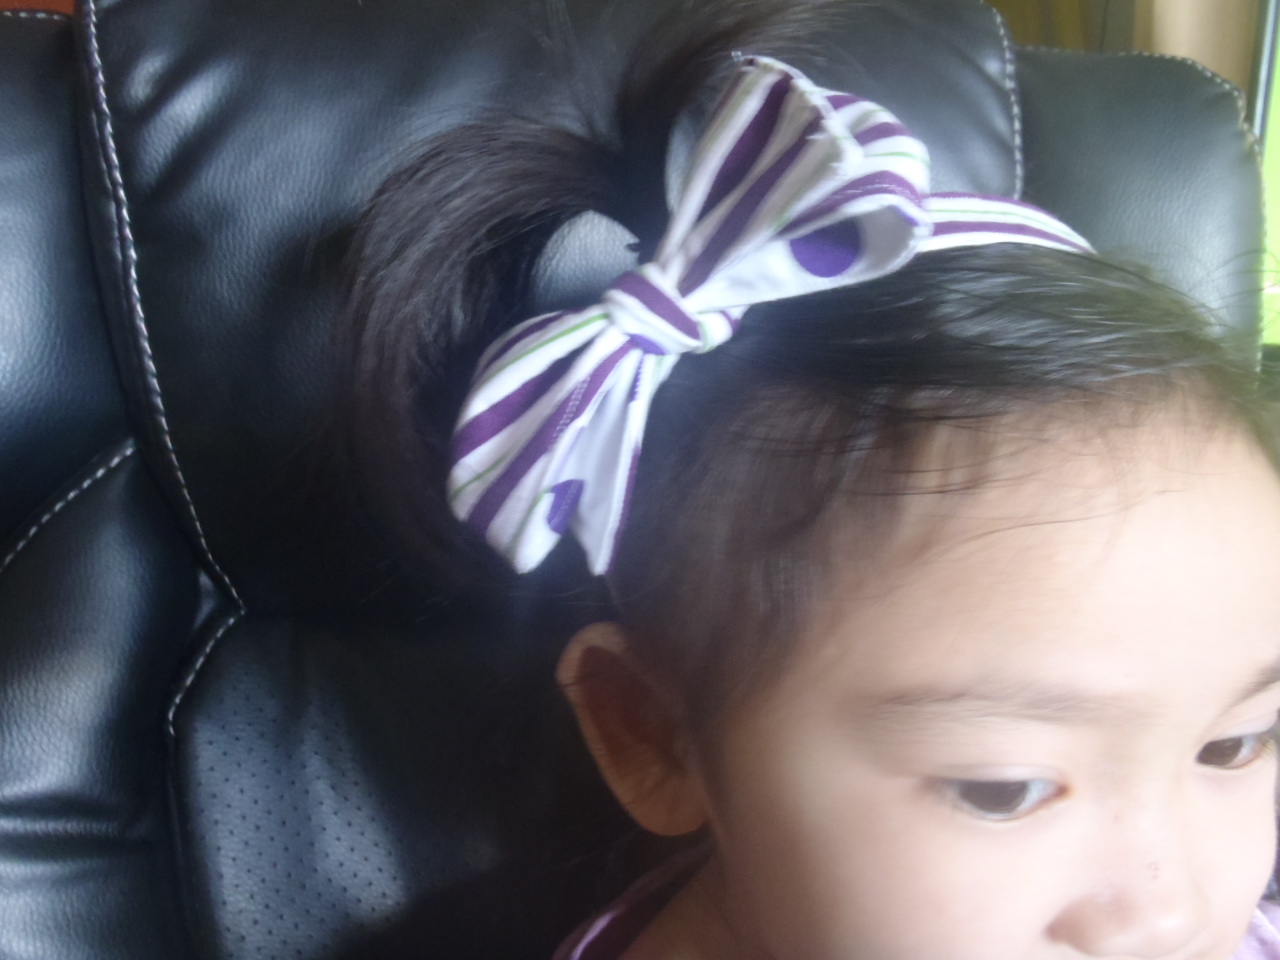
Uniform-code hair accessories...


Backpack! From Little Things to Sew, yarn-dyed upholstery-weight from IKEA, reinforced twice on the bottom. The lining (magenta bandanna print -- oddly enough, Japanese) snaps in (pink butterfly snaps around on the outside, black hearts and purple on the inside), but big black snaps act as feet together with the interfacing to make it capable of standing up.) or out for easy wash/dry.

Only things needed: lunchbags, and the will to survive one more week.

Thursday, August 22, 2013

Uniform hacking, the boy edition

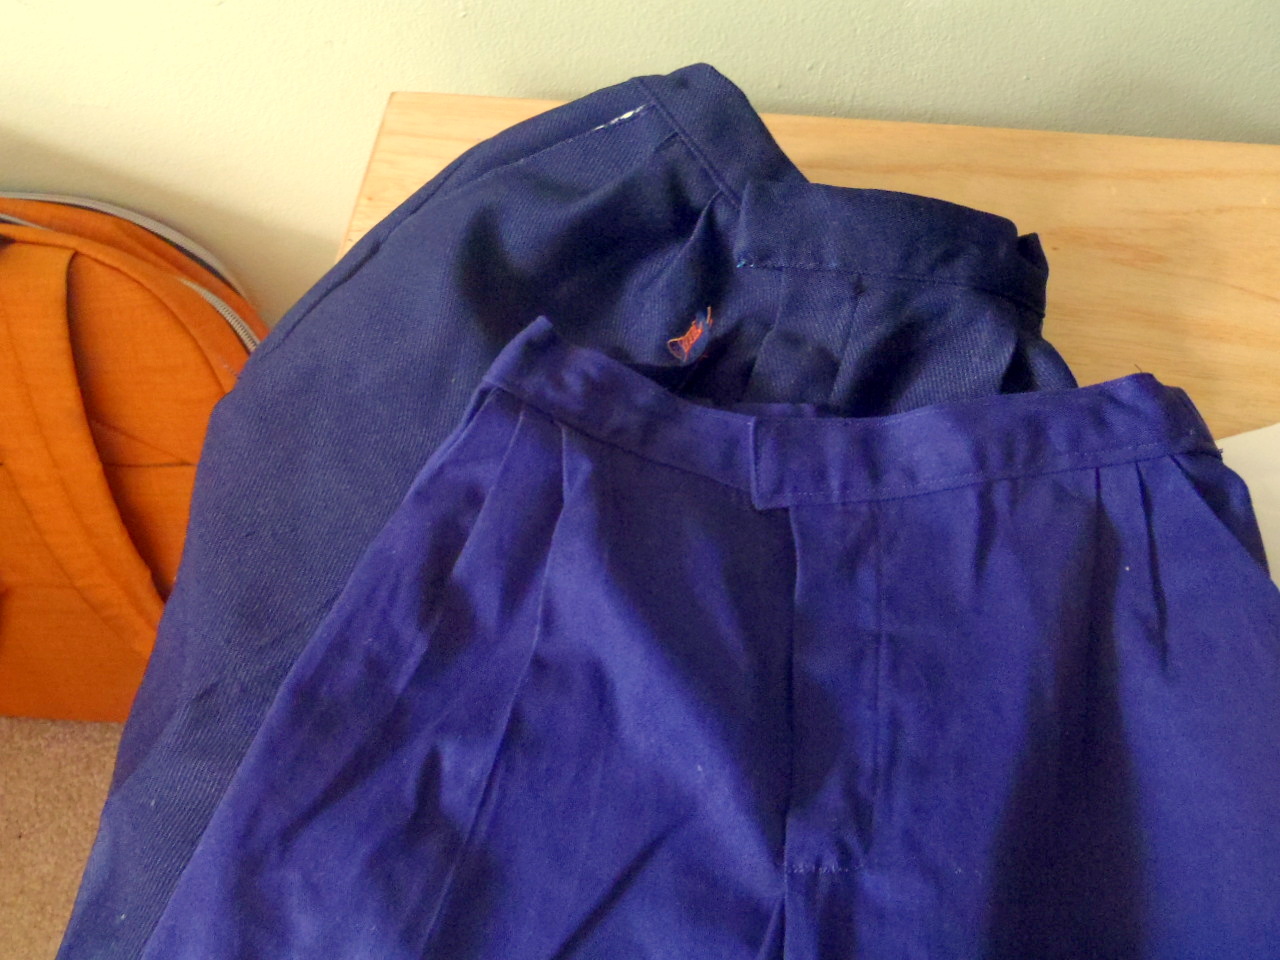
The Easter pants worked out well, and were worn for the last few cold days of the schoolyear. Aside from that, we need new pants for warmer weather, because P's outgrown the length but not the waist of two of them; I was able to get a few more inches from one by adding a hem facing, and cut the other one off into shorts. But new pants were on the agenda, and maybe some shorts to replace the ones handed down to K. 

Prototype for a better buttonhole-elastic waist: Made from a nice heavy denim/twill, with orange-tipped pockets and detailing. I also redrafted the front to do jean-type pockets and remove the pleats. I will try another pattern for this (maybe from Ottobre) but overall happy with the results. I'm planning to swap out the buttonhole elastic for white so I can use this for another pair of school pants. Also, khaki snap!


The first one is straight-up from the same pattern as the Easter pants, Burda kids 9781, in a really nice all-cotton twill. I used broadcloth for the lower part of the front pocket and the inner pocket pieces, to reduce bulk. I did a better job with the buttonhole elastic waist on this one, because of the prototype pair. I also didn't sew in the creases, because this is an everyday pair. Here are the two pants from the same pattern, one washable wool and the other cotton twill.


So all good, the stuff I can't make is the logo apparel... actually okay with that, since it's just a gym set and fleece for K. We're good on the polos for now, but if he shoots up we'll tackle that later. 


Sunday, August 18, 2013

I'm gonna do it -- sewing along to Project Run and Play! I think this is the kick-in-the pants I need to be serious about blogging and sewing. I hope the whole starting-school-and-transitioning doesn't make this another bust.
Edit as of 10/8: A total bust! stuff came along (an interview, picking-up logistics, new backback, etc.) and railroaded my plans. I still want to make the lifesavers dress though.

Uniform hacking!

So yeah classic plaid jumpers. $40 they want for one of them. Had to go to 5 different stores on two different days (we won't talk about my online hunt, Pinterest history will attest that California was an option at one time until the shipping killed it), but tracked down the right plaid finally -- at the store next to the great Bernstein Haberdashery where I want to spend copious amounts of money on chambray and shirting. At $8 for a 60-width yard, all good! I also got some fun floral slightly stretchy denim and some upholstery-weight navy vaguely Asian-derived print -- perhaps for backpacks..
Anyway, started with New Look 6018 view A as a jumping-off point, but lined instead of all those partial facings. It has the following pieces: a front bodice, two back bodices joined with a zipper, waistbands cut on the bias, and the skirt has front and back pieces cut on a slight curve, and pleats that all face one way.
Used some mustard-yellow paisley, sort of Provencal-vibe, that I'd gotten originally for myself, lined with yellow voile (singing the praises of Pacific Trimming, they had the perfect color zipper as well as buttons, buttonhole elastic, and so much other lovelies). Sewing it together I felt like such a tool! I made the Mobius of un-invertible horror. Once I figured out that it was not as simple as a strappy sundress we got along better.


As you can see, cute but not perfect yet. Tweaked the neckline, narrowed the shoulder line and bodice a bit, and voila the new and improved pattern. 

To do the skirt -- from the picture, I knew it had to have the pleats be as wide as the yellow-to-yellow repeat, with a red line in the center of each box pleat, and three across the width. It worked out perfectly to just take the 60' width and cut it to a generous length for growing room (note to self: generous. Overcompensated on the second to make up for the first.) Of course, I figured this out after I'd cut an arc-shaped piece from the precious plaid. Because of this, I had to kind of cheat-fit some of the back bodice pieces to have the red stripe running horizontal instead of vertical, and one was a bit of a patch job, but it's the back! I was slightly stunned to get 3 whole jumpers out of two yards. (booyah, $120 versus $20 for fabric (broadcloth lining), $1.50 for zippers, $ 6 for buttons and $3 for thread.)
serged bottom edge, measure for the hem. 

press well.
start pinning the box pleats from the center mark, so there's a flat "apron" at center front.

pin and press, working outward from center front. I ended up fudging the sides so that there is not a full pleat, sort of a narrower box pleat, so that it lies flat and doesn't flare out so much. Pin and press, a lot, with steam.

Use your waistband pattern piece to adjust the top edge of the skirt into a curve. Move the pleats on an angle so that the outer pleats go under the center ones inward, and follow the arc shape of the waistband. Press again, and serge the top edge to hold everything in place.

Optional last part of the skirt: edgestitch on the inside to hold the pleats in place. I have my two fingers on the inside pleats where this really makes a difference -- the front "apron."

The lined bodice actually gave me more trouble than I thought it would. I tried a few different approaches:
Version 1-- according to Fashionsewingblogtv, zipper and side seams done then poke the strap parts out through the bottom and finish as a tube. Super-tiny, had to do it by hand -- not a hassle since it was short, but fiddly. 


 Version 2 -- according to slapdashsewist -- batwing/BSJ style: shoulder seams, neck and armholes first, then feeding the seamed-up bodice through the strap tunnels, then add zipper and seam up sides. Worked out okay but had to redo the zipper.

Version 3 -- according to freshly-picked -- Sew the neckline on both pieces, sew up the armholes partially, turn and press. Pin and stitch the shoulders lining to lining and outer to outer, then topstitch to close. I put the zipper in after the neckline/armholes but before the side seams, like v 2.
another, more comprehensive way:Angela Kane, relevant part is at the beginning of part 8.

  
I chose to only line the bodice and waistband, not the skirt, because that's what the bought one is like... topstitching around the waistband finished the lining to the waistband.

 I splurged on the buttons ($1 each!)but really like the results. 

 Next time I'm buying them from sew true (which is surprisingly out-of-the-way but worth investigating)..

Next on the agenda: white buttoned-up Peter Pan blouses. I made one out of habotai silk with s16 snaps (she's wearing this one in the pic), and one broadcloth with heart snaps, out of Burda 9792 with just a re-drafted collar. The last, I fiddled with my frequent-flier o&s Jump Rope pattern again, with sewn-in buttons, because I didn't have enough broadcloth for another Burda. It came out short, but ok for wearing under the jumpers.

Cupcake one-shoulder birthday dress!

I can't believe I forgot to make a post about the cupcake dress! 
For K's birthday, she chose the cupcake fabric I'd just gotten, of course. Like these things do, a one-shouldered, breezy classic but modern dress with giant bows popped into my head. Obviously I wasn't going to find a pattern for that, so I drafted one.


two giant bows on the shoulder.


I used my basic bodice draft that I use for most of her dresses. Any bodice pattern without closures will do, as long as it fits the chest and has a scoop neck. You want it to fit over the hips or head without struggle, so loose rather than tight -- she's five and narrow, this was 13 inches across including a 1/2" seam allowance.
First, do the one-shoulder by drawing a line sweeping up from the armscye to the opposite shoulder -- it should angle up about 35 degrees from the horizontal, because you don't want it hanging too low in front. 
I decided to do two straps on the same shoulder, which helps fine-tune the fit because the inner one takes care of the cross-bodice and the outer one takes care of the height -- my pet peeves when it comes to little girls falling out of their summer dresses. Just extend the shoulder into straps,widening so they make nice big bows when tied -- mine were about 10" up from what was the shoulder seamline. As for the bottom, from here it can be empire or drop waisted, or even A-line. I decided to go with a slight drop waist so as to eliminate the need for elastic but allow for a gathered skirt. Curve up at the sides for a nice line.


Cut two out, it doesn't have to have a front and back as long as you cut them with the fabric folded (so that one has the ties on the left, and one on the right when you look at the print...) Since it's a summer dress out of quilting cotton, it needed a lining -- I think this one was $2/yd at my neighborhood place? White for the bodice and pink for the skirt, to pick up the silly colors. So, two of the print and two of the lining. 

You'll also need rectangles for the skirt, I usually go for the full width of 45" and about 12" long, just a basic rectangle, with the short sides seamed up, hemmed and gathered. (I love gathering now that I have a serger!) Remember to have the seam of the lining face out so it doesn't rub. It's fine to gather the lining and the print to the final measurement of the bodice bottom (24 inches, in this case), and set them aside.

To sew up the bodice, start at the bottom of the left armhole and pin a lining piece and a print piece together, right sides facing. Stitch all the way around the gnarly strap parts, coming in quite tight and going up again between the two straps ( i ended up fudging the seam allowance a bit at the lower point, it's more like 1/4"... so it's not too narrow to turn.) You can decide now whether you want the ties to come to a point or be squared off. Clip deep into the corners and V, and turn the whole right side out (a chopstick helps with turning the skinny ties). Do the same thing for the second set of lining and print fabric.  
Then pin and sew each side seam all together on the inside, starting with the bottom edge of the lining and finishing at the bottom edge of the print continuously from the edge of the lining to the edge of the print. You don't have to finish the seam allowances if the dress is fully lined. 

Sew on the skirt (either all together, or the print to the print and the lining to the lining, so seams are inside), turn it right side out, and press. (I added contrast topstitching all around the top edge to define the line, but that's just my thing.) 
Make some cupcakes and party on!


Friday, June 7, 2013

summer outfits!


nice shot of the sleeve.


so end-of-year singing is a thing? I never really perceived that... of course this year both P & K's were on the hottest day of the year to date. Thankfully I had already planned breezy, cool sewing for them., projects for me new serger! 

K's is a Hopscotch dress in cotton knit that I have had for literally years. It was all cut out and ready to sew, when she said, "And butterfly sleeves!"  Um, what? (like this? or like this? Not for this particular one, although I have been thinking about making her something very traditional and much in the spirit of the Sunduan.) No, sleeves that look like butterfly wings. So a redraft! 
I actually really like the way the sleeves turned out, and so does she.

P's is a woven henley, gauzy curtain-like cloth that I was lucky to find at my neighborhood place. Usually I buy fabric with no intentions, but this time I had it in my head to make a black-and-white shirt he could wear with his Airwalks and shorts... as they say, "And there it was!" It looks like a barong, right? Again, something in the back of my head. 

Tuesday, June 4, 2013

dance dress v. 1

I found this tulle with gold flowers on it... gorgeous! I asked if it was washable and the guy shrugged, "At $3 a yard, who knows?" Of course I had to. Spotted the exact same color spandex, it almost jumped into my hand. (The pictures don't really do the color justice, it's greener and richer, more like turquoise..) And thus:
gotta love both their expressions in this one.


I tried to be thrifty by shortcutting a pattern -- basically it fits but it's really snug. I'll probably spring for this actual pattern by Jalie if ever I see  it in a store. It was a great project to learn about cutting and sewing Spandex from scratch with my new serger, which was my Mother's Day present to myself. 
Verdict? Love how easy it is to do that infernal gathering of the skirt, and finishing edges. Still have to get the hang of that neckline finish, tho. 
Of course, not all dance dress/costume materials are the same, as I learned from the costume repair/alteration frenzy that was last month. 

Friday, May 10, 2013

Red April

Last month was all about red... Riding hoods, buttercream roses, velvet cakes. Thirty-one, fifteen (or was it 20? on a pink cake no less!) and countless layers (I'll hazard at least 16-17 all together -- rounds and sheet cakes combined.)
It's funny how staring at a color that you don't particularly care for a lot makes you see the subtle differences and you find yourself splitting hairs between shades. To wit, cotton voile from the independent fabric store comes in red... no problem, it's soft and natural and is a good price point. Circle over to the chain store and broadcloth is poly-cotton, comes out cheaper on sale and comes in 3 shades of red. Choices!! Lollipop or Tango? I like Tango better but bought more of the other shade because the sale crowds were frustrating... had to go back the next day and got more at a different price.
 If someone unlocks the logic of those frickin' sale policies, please let me know.

oh, and one last red thing: 


Saturday, April 13, 2013

Half-done and multi-part efforts...

It's been awhile since I posted, but stuff does happen around here! Mainly keeping up with these two's activities, and occasionally buying fabric to make things like this


to stock my new etsy shop, named after the kids.  Go check them out!

And back to schooling for nerdlet me, I went and bought a textbook. Because sometimes Googling is tiring. Went to Purl Soho and got Vogue Sewing, the garment-making go-to resource. It's kind of  a good nostalgic feeling -- I curled up with it while K slept and P was at martial arts.

Obviously there is always baked goods -- finally baked off some of those whole-wheat croissants that I've been holding onto the dough for, but as I told a co-worker, not my best work (could not have helped that the dough sat around in a defrosting freezer for awhile!). Still needs tweaking, and I'm not sure I'm in the right frame of mind for them as of yet.