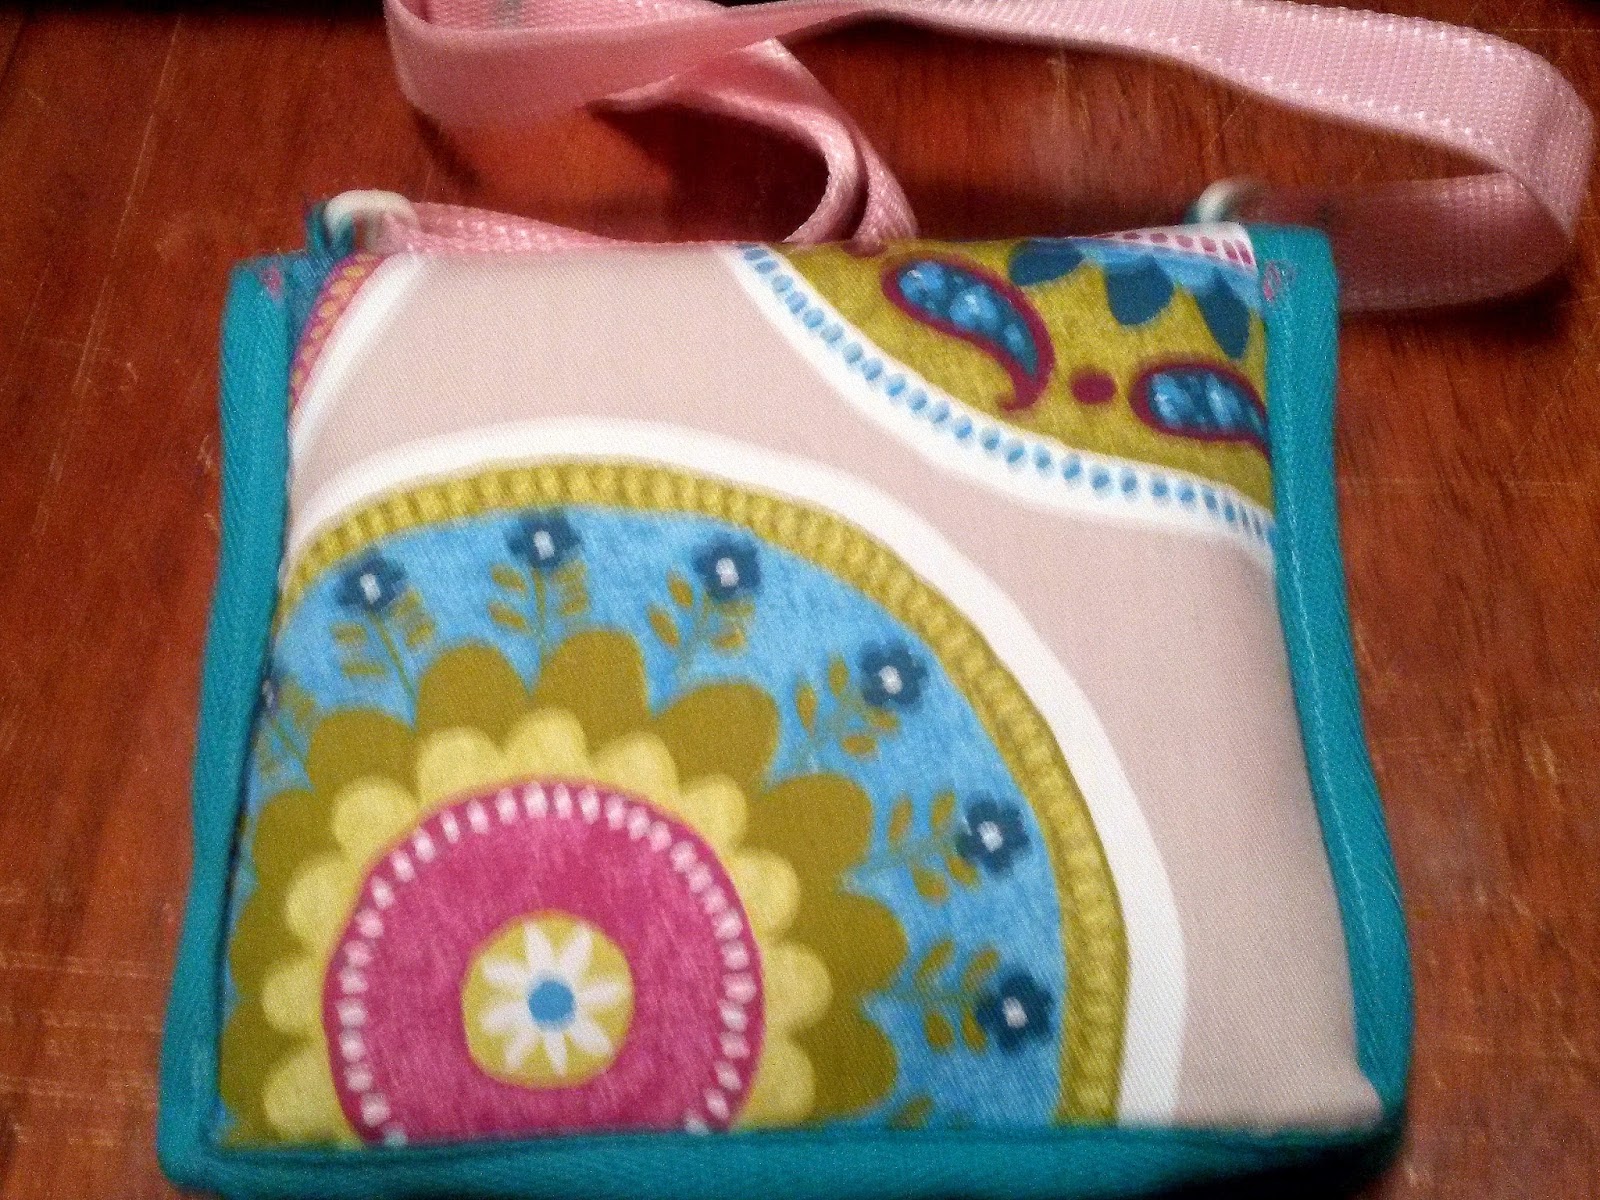
I had this offcut from the runners I make for the bakeshop, a pretty medallion print cotton/polyester from Mood Home. It's soft but durable and goes perfectly with the colors of her DS. To go with, some scraps from her Easter dress in a yarn-dyed plaid for the interior pockets (this might have been from the fabric shop on the LES, not sure!) You'll only need a bit, not even 1/8 yd. of each.
I could spend so much time at Pacific Trimming -- less than 7" elastic, 1" creamy beige 1" and 3/4" magenta; about 11/2 yards of 1" teal twill tape; and a 18" custom-cut separating Riri fuchsia aluminum zipper. They also have 1" plastic sliders for the straps - i used three. I had some 1" pink nylon webbing for the strap from Joann (left over from the small backpack.)
(Not as cute but less trouble: colored zipper for just a bit of fun visual, elastic in black and white, twill tape and metal d-rings, 1" black webbing from Wawak Sewing Supply.)
I also used craft foam (left over from monkey wings) for support and stability, and some padding to help protect the electronics from each other... (actually I just used some craft fur a friend gave me, but hi-loft polyester batting would work well too).


The main piece is a rectangle 7 1/2 x 14"; sew on the pockets, 9x 3 1/2", with elastic sewn to the tops with a stepped zigzag... stretch the elastic as you sew so it can do its job keeping the charger/cord and DS in place.
Another length of elastic (not stretched) for the cartridges goes above the charger pocket, with dividing lines. (Leave a space in the middle for the case to fold.) A double-layer flap, 7 1/2 x2", with batting, goes on top of the DS pocket, so that the screen doesn't get scratched by the charger.
The outside main piece has interfacing, then the craft foam (trim about 3/8" from the edges so less bulk is at the seams), then the padding. Put the assembled inside main piece on top, making sure the ends of the elastic are flush with the rest. Pin or baste all the layers together, and round the corners a bit.
Assemble your strap with its hardware: sew one end of the webbing in a loop around the center post of the slider, then pass the free end through one d-ring before slipping it back through the slider. Sew the free end around the other d-ring. Cut two 2 1/2" pieces of twill tape for attaching the strap to the outside main piece, and slip these through the d-rings.
Pin the small pieces of twill tape to the main piece sandwich in the center of the long edges. When you sew on the twill tape, it will finish the edges, attach the inside flap and outside strap, and close the sides of the pockets all at once.
Use lots of pins to keep the twill tape from shifting as you place it around the edges of the sandwich -- be careful not to pull too hard. Ease around the corners (I think it looks neatest to start and end in the center of a short end, not like I did at the corner!) and use a short straight stitch close to the edge of the twill tape. Reinforce the strap attachment loops on the inside if needed.
finally, carefully pin the zipper to one side of the case right up against the twill tape's inside edge. Baste in place, then close the case so that you can pin the other side of the zipper. Baste this edge, then unzip. Sew the whole perimeter at once from the inside, being consistent so it looks nice on the outside -- and so you don't lose a lot of width.
And that's it! Put all the gear in the pockets and game away!


